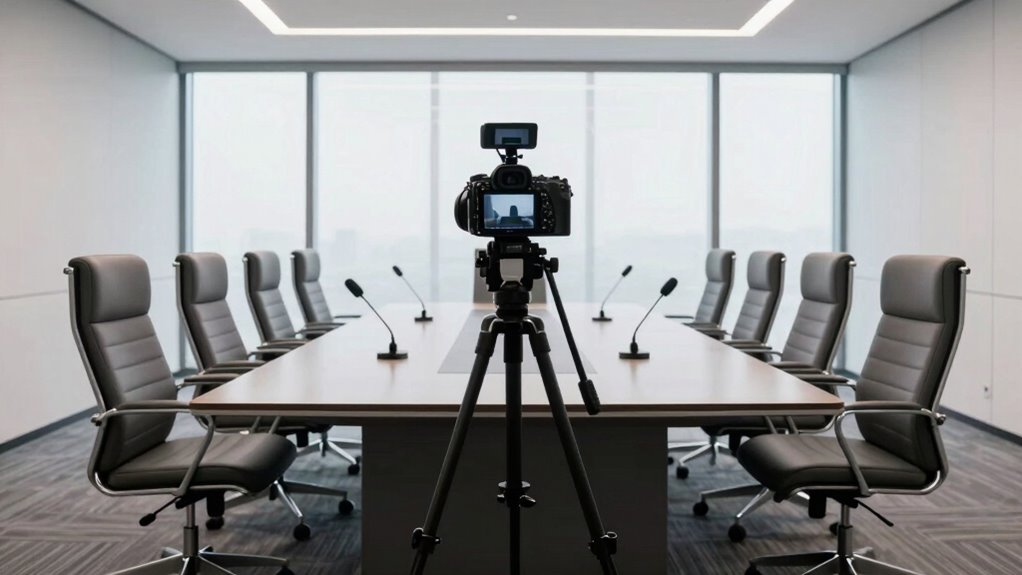

To match your meeting room size with the right camera and microphone choices, first consider the room’s dimensions and acoustics. Small rooms benefit from ceiling or table microphones and simple cameras with even lighting, while larger spaces need multiple or array microphones and wide-angle or auto-framing cameras. Proper placement at eye level and adjusting lighting are key for clarity. Stay tuned to find detailed tips on setting up your ideal setup for any room size.

Get business pricing on networking and server gear
- Business-only prices and quantity discounts
- Tax-exempt purchasing
- Multiple users, one account, clear invoices
Key Takeaways
- Assess room size to determine the number and type of microphones needed for consistent voice pickup.
- Choose cameras with appropriate field of view or auto-framing features based on room dimensions.
- Use multiple or array microphones in larger rooms to eliminate blind spots and ensure clear audio.
- Select lighting and camera angles that accommodate room size for optimal visual clarity.
- Calibrate and test equipment to match acoustics and space characteristics before meetings.
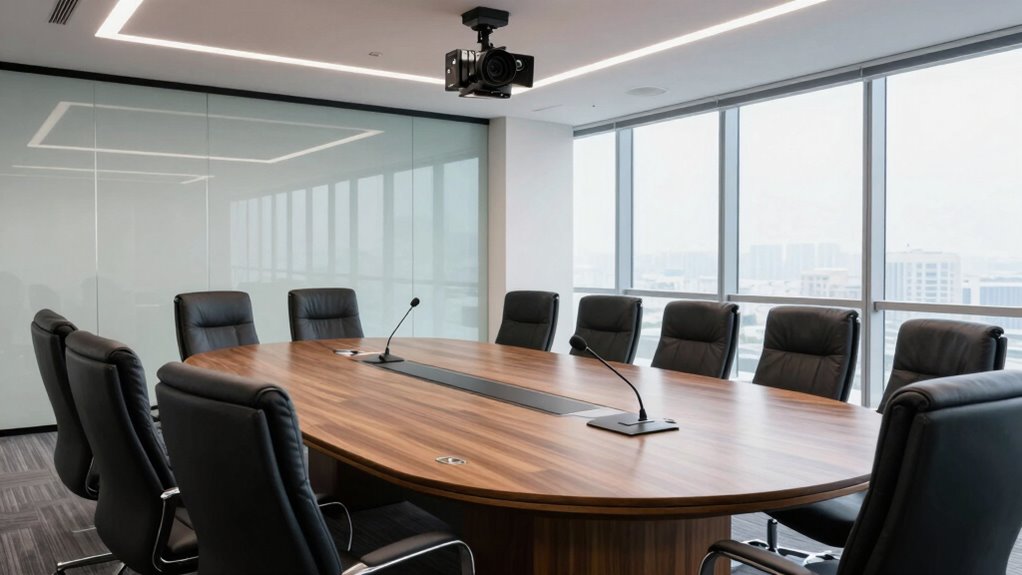
Choosing the right camera and microphone for your meeting room depends heavily on its size. If you have a small or medium space, you might think a basic setup will suffice, but that’s not always the case. To guarantee everyone’s voice is heard clearly and participants see each other without issues, you need to contemplate the room’s dimensions carefully. Larger rooms require more robust audio and video solutions to prevent sound drop-off and blurry images. When selecting your gear, focus on achieving ideal audio clarity—this means choosing microphones that can pick up voices evenly across the room and eliminate background noise. For smaller rooms, a single ceiling or table microphone might work, but larger spaces often benefit from multiple microphones or array microphones that can focus on different zones, providing consistent sound quality no matter where someone is speaking.
Lighting setup plays an equally important role. Well-lit rooms help cameras deliver sharp, clear images, preventing participants from appearing dark or shadowed. For small rooms, a simple, even lighting setup with soft, diffused lights often does the trick. As rooms grow larger, you’ll want to invest in more sophisticated lighting arrangements, such as multiple light sources or adjustable fixtures, to ensure faces are illuminated evenly. Proper lighting reduces the strain on the camera’s sensor, allowing for better video quality and more engaging meetings. Remember, even the best camera can’t compensate for poor lighting—so don’t overlook this aspect when matching your equipment to your room size. Additionally, considering camera placement and angles can significantly improve the overall visual experience. Using appropriate lighting techniques tailored to your room size can make a substantial difference in visual clarity. It’s also beneficial to evaluate audio-visual integration to streamline setup and operation, especially in larger spaces. Incorporating proper calibration of your equipment ensures the best possible image and sound quality during meetings. Furthermore, understanding the room acoustics can help you select audio equipment that minimizes echoes and enhances clarity.
In addition to choosing the right gear, placement matters. For smaller rooms, positioning the camera at eye level and keeping microphones close to the speaker ensures clear audio and visuals. In larger spaces, you might need to deploy multiple cameras and microphones strategically to cover the entire room. This setup minimizes blind spots and keeps everyone in frame. When selecting camera features, look for auto-framing or wide-angle lenses that can adapt to different setups, especially in bigger rooms. Also, test your lighting and sound setup before important meetings to troubleshoot any issues. Proper calibration ensures your video looks professional, and your speech remains intelligible.
Ultimately, matching your camera and microphone choices to your meeting room size involves balancing technical features like audio clarity and lighting setup. It’s worth investing time and resources to tailor your equipment to your space, so every participant feels connected, heard, and seen. Good audio and video quality foster more effective communication, making your meetings more productive and engaging.
meeting room camera with auto-framing
As an affiliate, we earn on qualifying purchases.
As an affiliate, we earn on qualifying purchases.
Frequently Asked Questions
How Do I Measure My Meeting Room Accurately?
To measure your meeting room accurately, start by noting the room dimensions using measurement tools like a tape measure or laser distance meter. Measure the length, width, and height of the space, ensuring you get precise readings. Double-check your measurements for accuracy. Having exact room dimensions helps you choose the right camera and microphone setups, ensuring clear audio and video during meetings.
What Are the Cost Differences Between Equipment Options?
The cost comparison between equipment options varies widely. Basic webcams and microphones are highly affordable, perfect for small rooms or budgets, while professional-grade cameras and microphones cost more but offer superior quality and coverage for larger spaces. You’ll find equipment affordability depends on your needs; investing in higher-quality gear might seem costly initially but can improve overall meeting experiences and reduce the need for frequent replacements, saving money long-term.
How Do Lighting Conditions Affect Camera Performance?
Imagine your camera as a keen-eyed explorer traversing a shifting landscape. Lighting variability directly influences its performance; poor or inconsistent lighting can obscure details, making the camera struggle to see clearly. Bright environments enhance camera sensitivity, allowing it to capture sharper images, while dim settings hamper its ability to distinguish subjects. To guarantee ideal performance, control lighting conditions and choose equipment with good low-light sensitivity.
Can Existing Audio Equipment Be Upgraded for Better Quality?
Yes, you can upgrade your existing audio equipment for better quality. Start with audio calibration to enhance sound levels and clarity. Check equipment compatibility before purchasing new components to guarantee seamless integration. Upgrading microphones or amplifiers can greatly improve audio performance, making your meetings clearer. Regular calibration and compatibility checks help maintain ideal sound quality, creating a more professional and effective communication environment without needing a complete overhaul of your current setup.
How Do Room Acoustics Influence Microphone Selection?
Think of your room as a musical instrument—its acoustics shape your audio quality. Room acoustics directly influence microphone choice because echo, reverberation, and background noise can distort sound. Soundproofing techniques and acoustic treatment help tame these issues, ensuring clear audio. If your space has lots of reflective surfaces, opt for directional mics. Proper acoustic adjustments make sure your voice stays crisp and professional, no matter the room’s size.
conference room microphone array
As an affiliate, we earn on qualifying purchases.
As an affiliate, we earn on qualifying purchases.
Conclusion
Remember, the right fit makes all the difference. Just like a key opens a lock, matching your meeting room size with the right camera and microphone guarantees smooth communication. Don’t overlook the importance of proper setup—it’s the foundation for effective meetings. When you choose wisely, you set the stage for clarity and connection. As the saying goes, “A stitch in time saves nine,” so invest in the right equipment now to avoid headaches later.
As an affiliate, we earn on qualifying purchases.
large room video conferencing camera
As an affiliate, we earn on qualifying purchases.
As an affiliate, we earn on qualifying purchases.
Halloween Picks
halloween
As an affiliate, we earn on qualifying purchases.